Give us a call: 763-220-3765
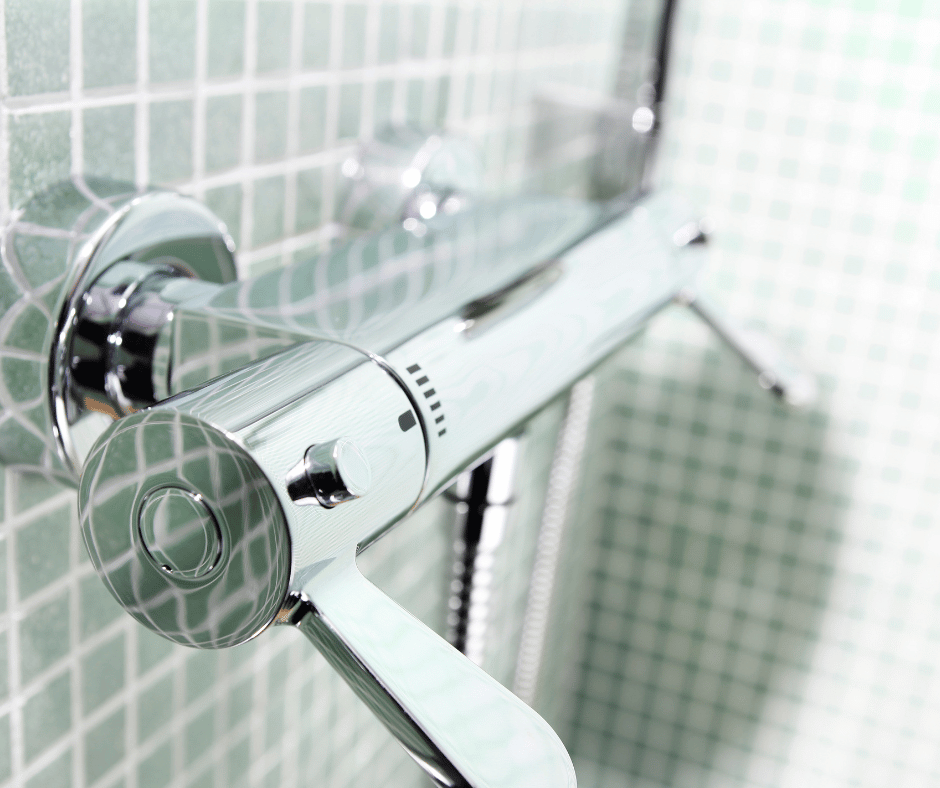
If you're searching "shower valve dripping Maple Grove" or "shower faucet leaks when off Minnesota," you're dealing with an annoying problem that wastes water, creates noise, and signals that something inside your shower valve needs attention. The good news: most dripping shower valves have fixable causes once you understand what's failing.
At First Class Plumbing, we repair shower and tub plumbing throughout Maple Grove, Plymouth, Minnetonka, and the Northwest Metro. Here's what causes shower valves to drip and when repair versus replacement makes sense.
Modern shower valves contain a cartridge or series of washers/seals that control water flow and mixing. When you turn the handle(s), you're adjusting these internal components to allow water through and blend hot and cold water to your desired temperature.
Single-handle shower valves: One handle controls both volume and temperature. Inside is a ceramic disc cartridge or pressure-balance cartridge with precisely machined channels that direct hot and cold water.
Two-handle shower valves: Separate hot and cold handles. Each handle operates its own cartridge or compression valve controlling one water supply.
Thermostatic valves: Advanced valves that maintain constant temperature even when water pressure fluctuates. These contain sophisticated cartridges with temperature-sensing elements.
When your shower drips, something inside the valve isn't sealing properly when the valve is in the "off" position. Water sneaks past the seal and drips from your showerhead.
The cartridge inside your shower valve contains rubber or synthetic seals that create watertight closure when the valve is off. Minnesota's hard water accelerates seal wear through mineral buildup and chemical interaction.
How cartridge seals fail in Maple Grove homes:
Over years of use, seals harden, crack, or develop grooves. Water finds these imperfections and flows through even when the valve is closed. Hard water deposits minerals on seal surfaces, preventing complete closure.
Symptoms of worn cartridge seals:
The fix: Replace the cartridge. This is the most common shower valve repair we perform in Twin Cities homes.
Cartridge replacement involves:
Professional cartridge replacement costs $200-$350 including parts and labor. The job takes 1-2 hours.
DIY considerations: Handy homeowners can replace cartridges, but you must identify the exact valve model and obtain the correct replacement cartridge. Installing the wrong cartridge damages the valve body. Generic cartridges rarely fit properly despite claims of "universal" compatibility.
For Moen, Delta, Kohler, and other major brands, we can usually identify your valve model and source the correct cartridge. For older or unknown brands, identification becomes difficult and replacement might be impossible.
Even if your cartridge seals are still functional, Maple Grove's hard water creates mineral deposits inside the valve body and on cartridge surfaces. These deposits prevent complete seal closure.
How mineral buildup causes dripping:
Calcium and magnesium deposits form on cartridge surfaces and in the valve body channels. When you close the valve, these crusty deposits prevent the cartridge from seating fully against its sealing surface. A tiny gap remains, allowing water to drip through.
Symptoms specific to mineral buildup:
The fix: Thorough cleaning of the cartridge and valve body, sometimes combined with cartridge replacement.
We disassemble the valve, soak components in descaling solution to dissolve mineral deposits, scrub remaining deposits, and reassemble with new seals. If the cartridge has permanent mineral damage, replacement is necessary.
For homes without water softeners, mineral buildup returns over time. Installing a water softener prevents future buildup and extends valve life significantly.
The valve seat is the surface inside the valve body where the cartridge or seal presses to stop water flow. Over decades of use and exposure to Minnesota's hard water, valve seats can develop pits, scratches, or corrosion that prevent proper sealing.
How valve seat damage occurs:
Mineral deposits cause microscopic scratching as cartridges move against valve seats. Corrosion from water chemistry creates pits in brass or other valve seat materials. Even slight damage creates channels where water flows past closed seals.
Symptoms of damaged valve seats:
The fix: For minor valve seat damage, we can resurface seats using specialized grinding tools—similar to grinding car engine valves. This creates a smooth, flat sealing surface again.
For severe valve seat damage, complete valve replacement is necessary. You can't economically repair badly corroded or severely pitted valve bodies.
Valve seat resurfacing costs $150-$250. Complete shower valve replacement costs $400-$800 depending on valve type and wall access.
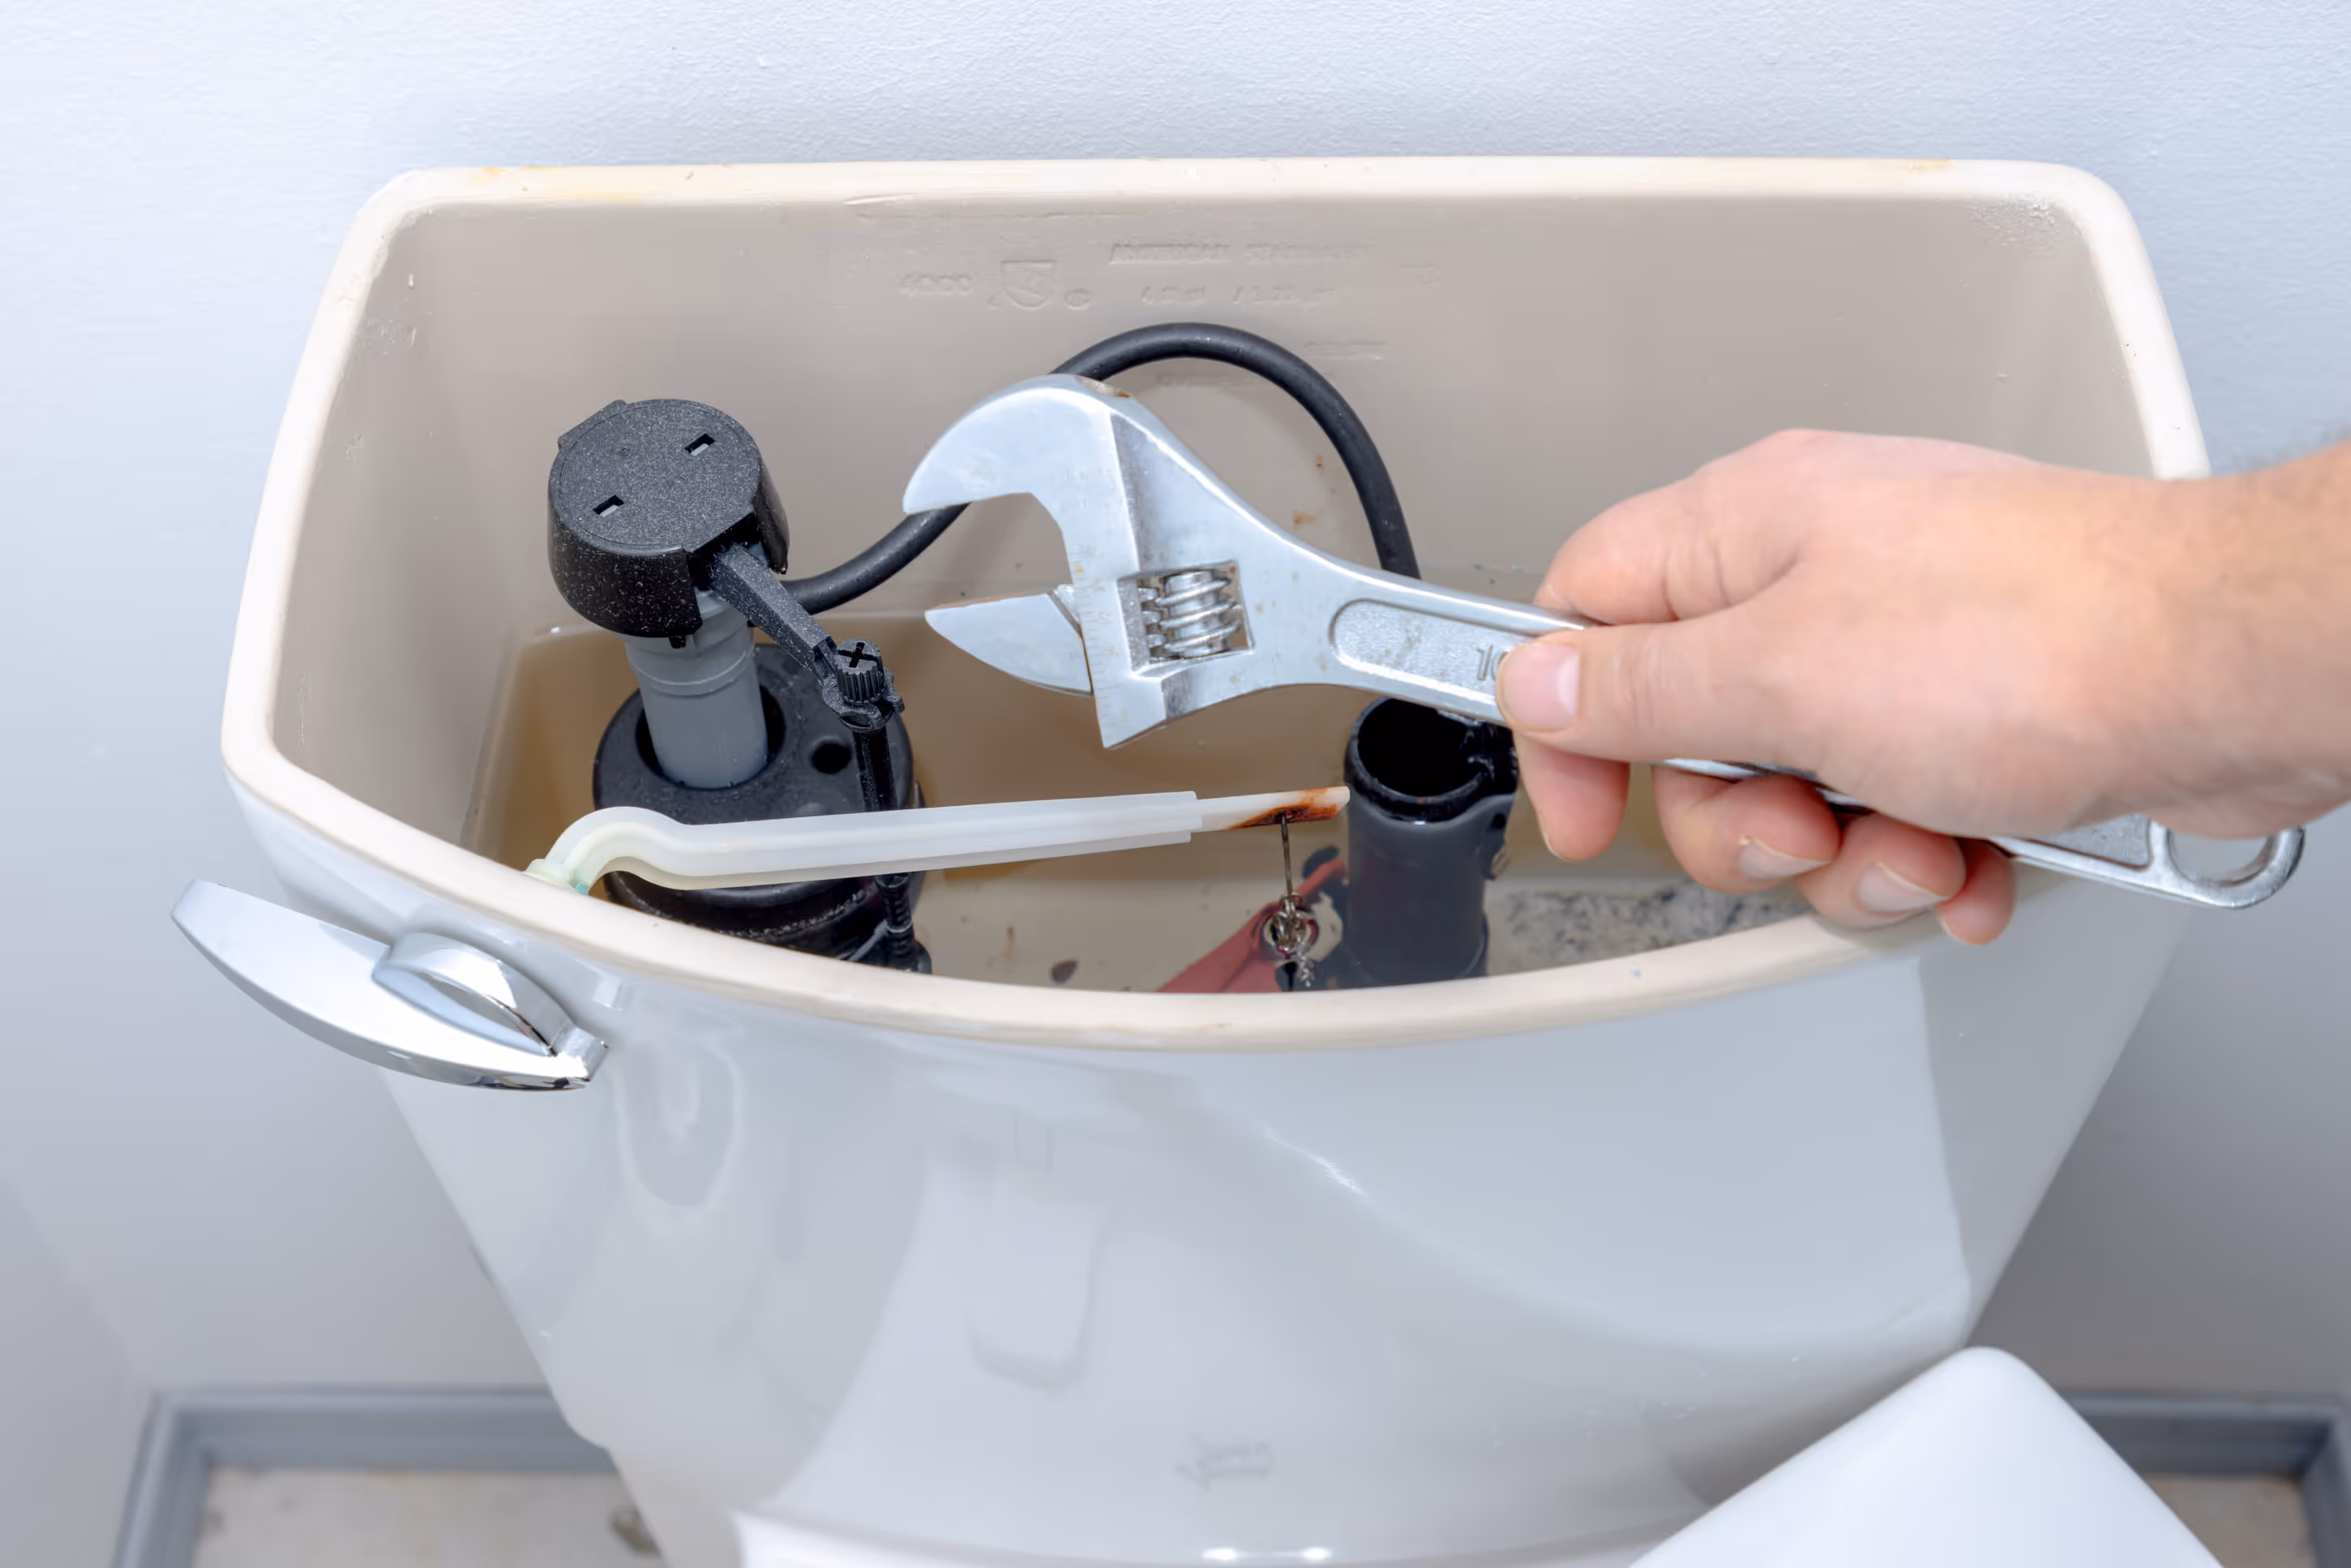
In compression-style shower valves (common in homes built before 2000), a threaded stem compresses a washer against the valve seat. If the stem becomes loose, damaged, or corroded, it won't compress the washer properly.
Symptoms of stem problems:
The fix: Replace the valve stem and washer. For compression valves, this is straightforward and costs $100-$200 including parts and labor.
However, compression valves are obsolete technology. If you're repairing a compression valve that's over 20 years old, consider upgrading to a modern cartridge valve. The improved performance and easier future maintenance justify the higher cost.
Sometimes dripping results from incorrect cartridge installation rather than cartridge failure. If someone previously replaced your shower cartridge and didn't install it correctly, dripping can occur immediately or develop over weeks.
Common installation errors:
Symptoms of installation problems:
The fix: Correctly reinstall the cartridge with proper orientation and all seals. This shouldn't require new parts if the original repair was recent.
We've corrected many DIY or handyman shower valve repairs where cartridges were installed incorrectly. Professional installation ensures proper cartridge seating, seal placement, and testing.
The valve body itself—the brass or plastic housing inside your wall—can crack due to freezing, overtightening during installation, or material failure. Cracks allow water to bypass the cartridge entirely.
How valve body cracks develop:
Freezing: Northwest Metro homes with exterior wall showers sometimes experience freeze damage if insulation is inadequate. Frozen water expands and cracks valve bodies.
Installation stress: Overtightening supply connections or misaligning pipes during installation creates stress cracks that develop over time.
Material failure: Some older valve bodies used zinc alloys that corrode and crack after decades. Modern brass or composite bodies are more durable.
Symptoms of cracked valve bodies:
The fix: Complete valve replacement. Cracked valve bodies can't be repaired. This requires opening the wall behind the shower valve (either from the shower side or from the other side if accessible), removing the old valve, and installing a new one.
Valve replacement costs $400-$800 for labor and materials, plus any tile or wall repair needed to access the valve.
Abnormally high water pressure can cause shower valves to drip even when the internal components are functioning properly. The pressure overwhelms the seals' ability to contain water completely.
Maple Grove city water typically ranges from 55-70 PSI, which is normal. However, some Northwest Metro neighborhoods experience pressure spikes above 80 PSI, especially at night when demand drops.
Symptoms of pressure-related dripping:
The fix: Install a pressure-reducing valve on your main water line to maintain consistent 50-60 PSI pressure. This costs $300-$500 but solves pressure problems throughout your home, not just shower dripping.
For homes with water pressure problems, addressing the underlying pressure issue prevents ongoing damage to plumbing fixtures and appliances.
Modern showers use pressure-balance or thermostatic valves to prevent scalding when toilet flushes or other fixtures use water. These safety valves contain springs, diaphragms, or other components that can fail, causing dripping.
Symptoms specific to balance valve issues:
The fix: Replace the pressure-balance cartridge or mechanism. These are specialized cartridges costing $75-$150 for parts plus $150-$250 labor.
Balance valve problems are less common than simple seal failure but do occur in showers 8-15 years old.
Repair makes sense when:
Your shower valve is less than 15 years old and made by a reputable brand (Moen, Delta, Kohler, American Standard). Replacement cartridges are available and reasonably priced ($30-$80). The valve body is in good condition with no visible damage or corrosion. Repair costs $200-$350—far less than replacement.
Replacement makes sense when:
Your shower valve is over 20 years old with obsolete cartridges that are unavailable or prohibitively expensive. The valve body is corroded, cracked, or damaged. You've repaired it multiple times and it keeps failing. You're remodeling your bathroom anyway and can upgrade to modern fixtures. Repair costs approach $400-$500 (close to replacement cost).
We honestly assess whether repair or replacement makes better financial sense for your specific situation. We don't push replacement when repair will provide years of reliable service.
To replace cartridges or order parts, you must identify your valve brand and model:
Look for markings: Remove the handle and trim. Look for manufacturer names or model numbers stamped on the valve body or cartridge.
Measure and photograph: If no markings are visible, photograph the cartridge (or the valve body opening if cartridge is removed) and measure dimensions. We can often identify valves from photos and measurements.
Check installation records: If your home is relatively new, plumbing inspection records or builder documents might list fixture brands.
Bring cartridge to a plumber or hardware store: If you remove the cartridge yourself, bring it to us or a plumbing supply store. Experienced personnel can often identify it visually.
For common brands installed in Maple Grove homes over the past 20 years, we typically identify valves quickly. For older or unusual brands, identification becomes challenging.
Replacing shower cartridges is within the skills of handy homeowners, but several factors complicate DIY repair:
Challenges:
When DIY makes sense: You've identified your valve model, obtained the correct cartridge, have basic plumbing skills, and the valve is easily accessible (not behind tile requiring removal).
When to call professionals: You can't identify your valve, cartridges are stuck and won't budge, you're uncomfortable shutting off water, you'd need to remove tile or access drywall, or you attempted DIY and now have worse problems.
Professional repair includes correct diagnosis (ensuring the cartridge is actually the problem), proper tools to extract stuck cartridges, correct cartridge installation, and testing to verify the repair solved the issue.
Install a water softener: Minnesota hard water is the root cause of most shower valve problems. Soft water extends valve life dramatically by preventing mineral buildup on seals and cartridges.
Address leaks promptly: Small drips become bigger drips. Catching and repairing valve problems early prevents worse damage.
Regular maintenance: During bathroom cleaning, test your shower valve operation. If handles become stiff or operation changes, schedule maintenance before complete failure.
Quality fixtures during remodels: When replacing shower valves, invest in reputable brands with readily available replacement parts. Saving $50 on an off-brand valve costs hundreds more in replacement when parts aren't available.
Proper installation: Professional installation ensures valves are correctly positioned, properly sealed, and accessible for future service. Poor installation leads to premature failure.
Beyond the annoyance of constant dripping, ignoring the problem costs money:
Water waste: A shower valve dripping once per second wastes roughly 5 gallons daily, or 1,800 gallons yearly. At Maple Grove water rates, this costs $15-$25 annually in wasted water.
Potential mold growth: Constant moisture from dripping creates conditions for mold growth in walls or shower enclosures.
Worsening damage: Small seal problems become valve body damage if water flows past seals for years. What starts as a $200 cartridge replacement becomes an $800 valve replacement.
Annoying sounds: That constant drip-drip-drip disrupts sleep and creates stress. Quality of life matters.
Repairing dripping shower valves promptly saves money and prevents worse problems.
Dripping shower valves need proper diagnosis to identify the actual cause and implement the right repair. At First Class Plumbing, we repair shower and tub valves throughout Maple Grove, Plymouth, Minnetonka, Brooklyn Park, and the entire Northwest Metro.
We'll identify your valve model, diagnose the specific cause of dripping, and recommend the most cost-effective repair—or replacement if that makes better sense.
Call 763-220-3765 today for shower valve repair in the Twin Cities. We provide honest assessments, quality repairs using correct OEM parts, and work backed by our service warranty.
Contact First Class Plumbing for shower plumbing service you can trust. Stop living with that annoying drip—we'll diagnose and fix the problem right the first time.
Learn why it's essential to call trusted pros for toilet installations and repairs.
Shower valve dripping? It can be due to these common problems.
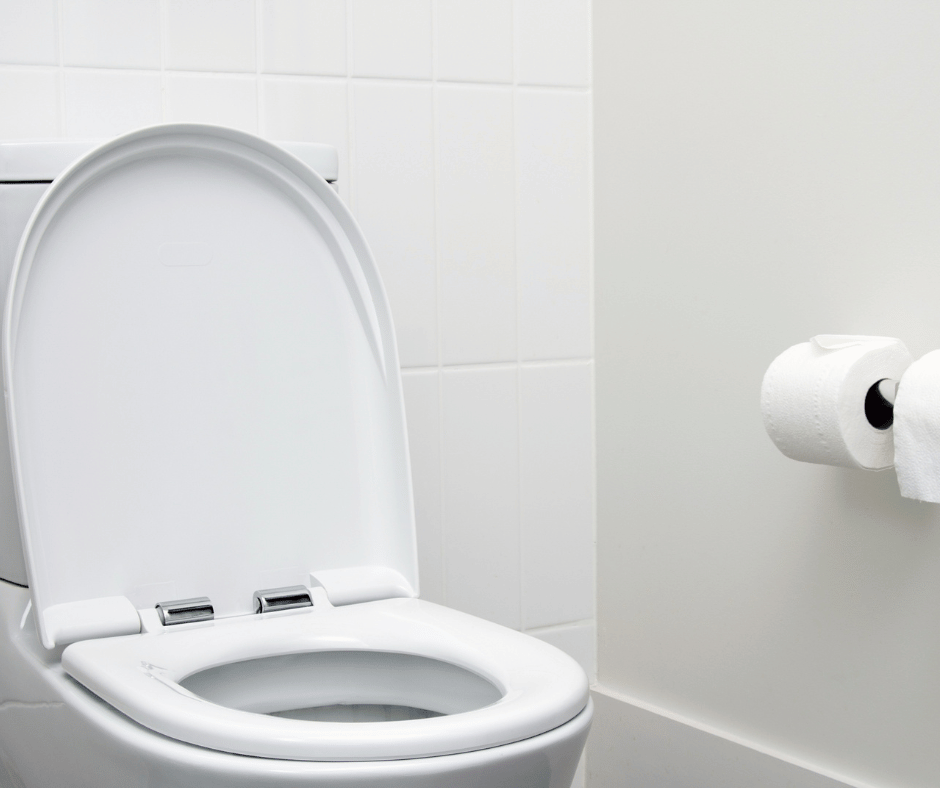
Experiencing frequent toilet clogs? Consider replacing it with these brands.
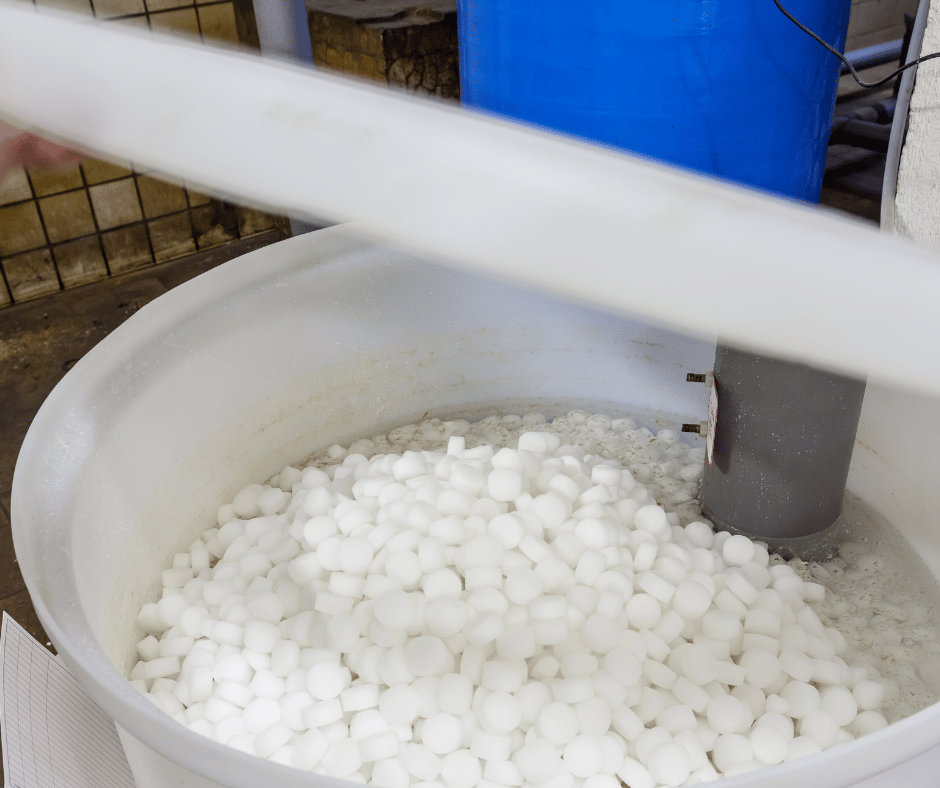
Should you install a water softener or a water filtration system? Consider these factors.
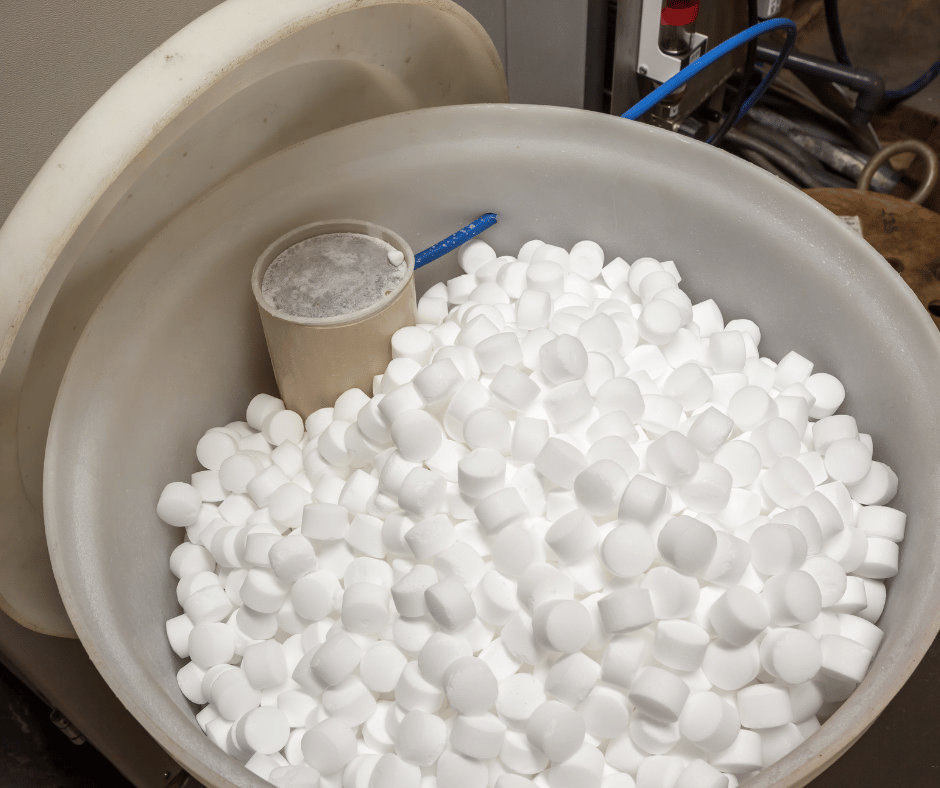
Worried your water softener is using too much salt? Get tips on common problems.

Attempting your own plumbing repairs can cause more damage to your system. Learn why you need a plumber.